Table of Contents
ToggleIntroduction
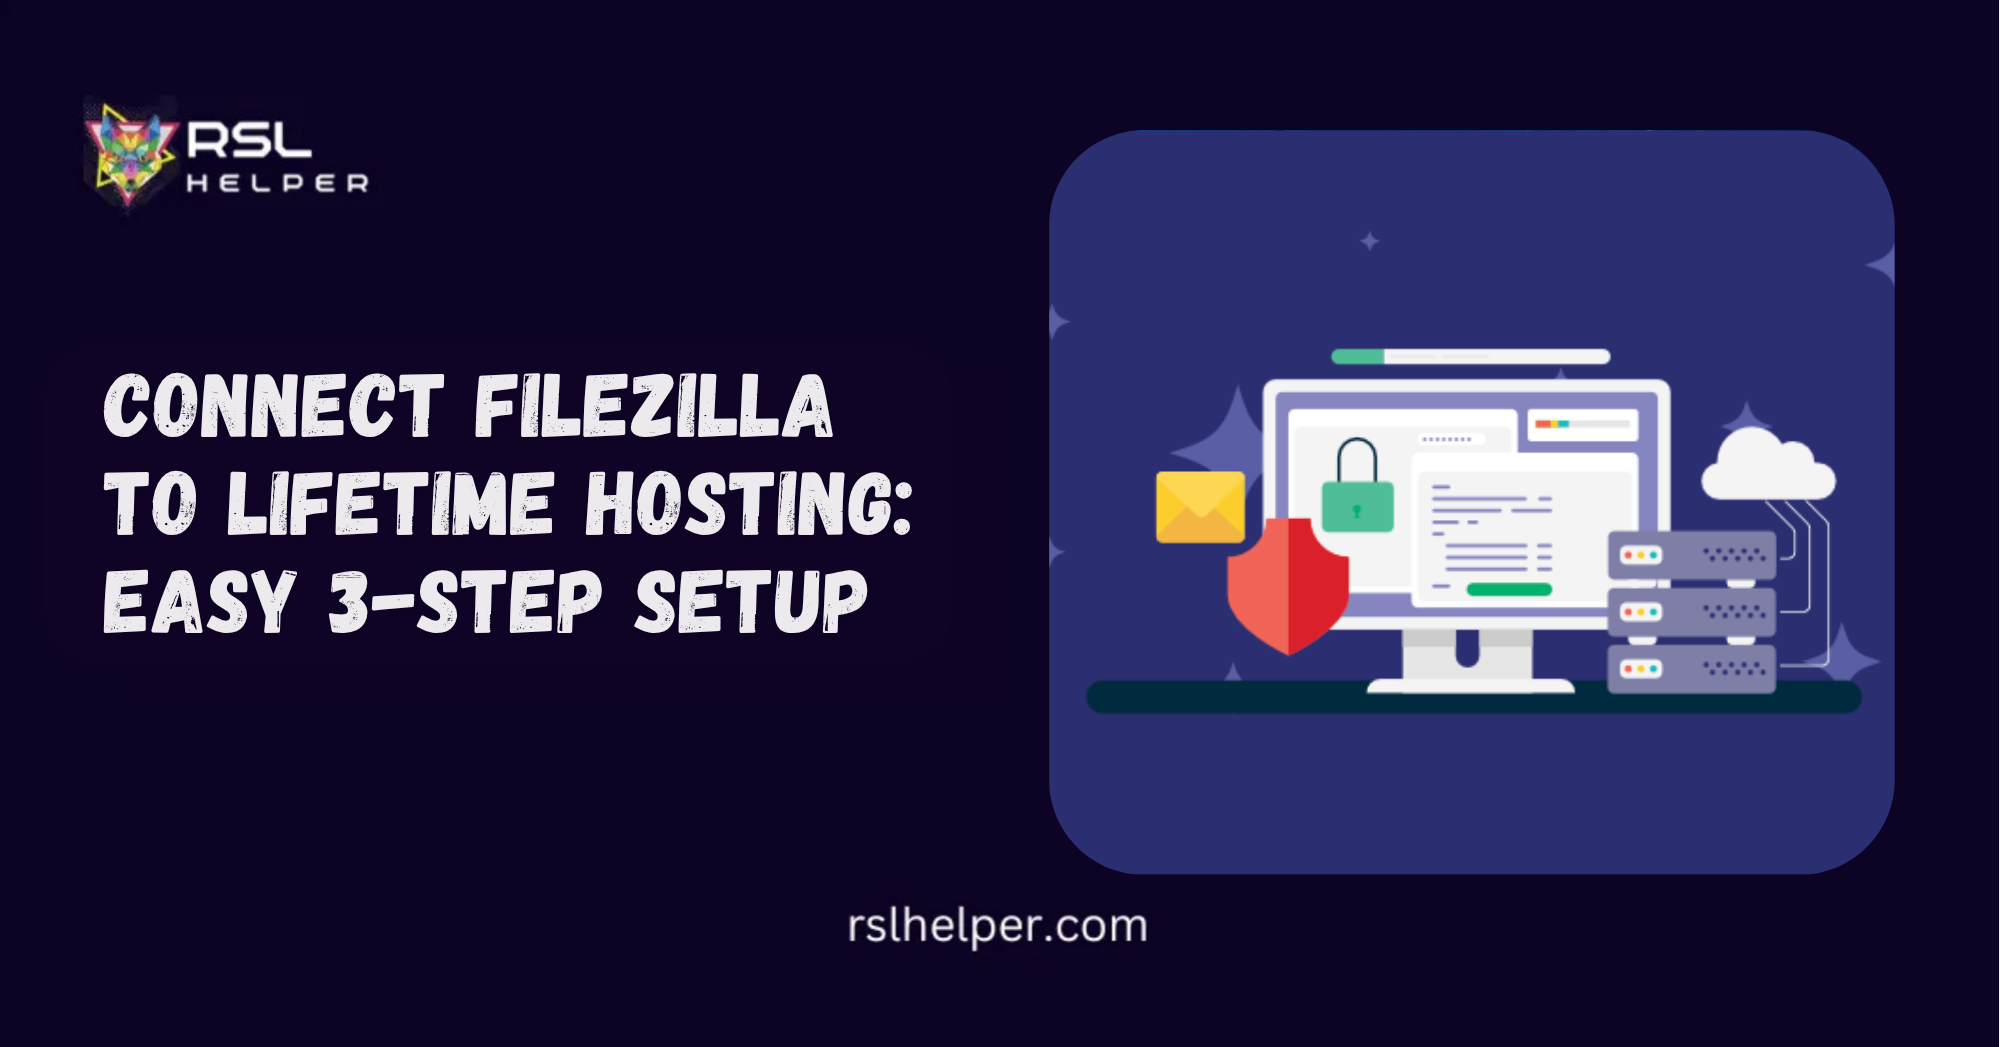
Using an FTP client like FileZilla makes managing your website files simple and quick. You can upload themes, edit files, or back up your site directly. If you have lifetime hosting and want to connect with FileZilla, this guide is for you.
This article will walk you through each step to Connect FileZilla To Lifetime Hosting. We’ll cover FTP basics, explain how FileZilla works, and assist you in locating your login details. Even if you’re new to FTP, you’ll be able to manage your site files without always logging into your hosting panel.
What is FileZilla and Why Use It?
FileZilla is a free FTP client. It lets you connect your computer to your website’s server using the File Transfer Protocol, so you can move files between them over the internet. This is especially useful if your website is large or has many folders you need to access quickly. With FileZilla and your lifetime hosting account, you save time and have full control over your website’s files.
Why FileZilla is Useful for Lifetime Hosting Users
If you use lifetime web hosting, you probably upload large files, back up your site regularly, or update WordPress content. FileZilla helps you accomplish all of this without needing a hosting panel, making site management over time simpler. Many people on platforms like ARZ Host find FileZilla useful for keeping their websites organized and up-to-date.
How to Get FTP Details from Lifetime Hosting
Before connecting FileZilla to your hosting account, collect your FTP host name, username, password, and port from your hosting dashboard or cPanel. These are necessary for FileZilla to connect to your website server.
Step 1: Log In to Your Lifetime Hosting Dashboard
Go to Lifetime. Hosting a website and logging in to your client area. Find your hosting service and select the option to manage your account. This will direct you to cPanel, the control panel included with your plan.
Step 2: Find FTP Account Information
Once you’re in your control panel (usually cPanel), locate the FTP Accounts section. Here, you can view your existing FTP usernames or create a new one.
Important details to note:
- FTP Host: Usually your domain name (like ftp.yourdomain.com)
- FTP Username: Either your cPanel login or the custom FTP user
- Password: Set during account creation or your cPanel password
- Port: Usually 21 (for FTP) or 22 (for SFTP, if supported)
Copy these details you’ll need for FileZilla. Once you have this information, you’re ready to connect FileZilla to your Lifetime. Hosting account, step by step.
How to Connect FileZilla To Lifetime Hosting Step by Step
Once you have your login details, you can set up FileZilla. This simple method works for most Lifetime Hosting users and doesn’t require any technical skills.
Step 1: Download and Install FileZilla
Go to the official FileZilla website and download the FileZilla Client for your operating system. Install it as you would any other program, then open it on your computer.
Step 2: Open Site Manager in FileZilla
In FileZilla, click “File” at the top left, then select “Site Manager.” Here, you can save and manage FTP connections for your websites. Click “New Site” and give it a name, such as “My Lifetime Hosting Site.”
Step 3: Enter Your FTP Login Details
Now enter the FTP credentials you copied earlier. Fill in the following fields:
- Host: Your domain or IP address
- Port: 21 (unless your host told you otherwise)
- Protocol: FTP
- Encryption: Use explicit FTP over TLS if available
- Logon Type: Normal
- Username: FTP username
- Password: FTP password
Once everything is entered, click Connect.
Step 4: Accept Security Certificate
The first time you connect, you may see a message requesting that you trust a security certificate. This is a common occurrence with many lifetime hosting plans. Go ahead and trust it to continue.
Step 5: Upload or Download Files
After a successful connection, the screen splits into two parts:
- Left panel: Files on your computer
- Right panel: Files on your website server
You can now:
- Drag files from left to right to upload
- Drag files from right to left to download
- Right-click to rename, delete, or edit files
Be careful when deleting or replacing important website files. If you encounter any problems during the connection process, don’t worry; let’s examine some common issues and how to resolve them.
Troubleshooting Connection Problems
FileZilla may not connect due to incorrect login information, an incorrect port, or firewall issues. These common problems are usually easy to resolve.
Wrong Login Info
Double-check your username and password. If unsure, reset your password in the control panel.
Host Not Found
Check your hostname. If your domain is still setting up, try using your site’s IP address instead.
Port Blocked or Firewall Issues
If your connection is blocked, try switching from FTP to SFTP (Secure File Transfer Protocol, a more secure version of FTP), or check if your firewall (software that protects your computer by controlling network traffic) is preventing FileZilla from connecting. You may need to allow FileZilla through your system settings.
What If FileZilla Doesn’t Work with Lifetime Hosting?
FileZilla usually works, but it may not connect sometimes, depending on the features of your lifetime hosting plan. If that happens, there are other solutions you can try.
Confirm FTP Access Is Enabled
Some cheaper lifetime hosting plans have limited access. If FTP is disabled, contact your hosting support team and request that they enable it for you.
Use Web-Based File Manager
If FileZilla doesn’t work, you can use the web-based file manager in cPanel. It allows you to upload, download, and edit files directly from your browser. It’s not as fast as FileZilla, but it still accomplishes the task. Now, let’s finish with some final thoughts and extra resources.
Conclusion
Using FileZilla with your lifetime hosting account gives you more control over your website files. It’s great for uploading large files, editing code, or organizing content, and it makes file management easier and faster if your plan includes FTP access.
If you’re serious about your website and opt for a lifetime hosting plan, setting up FileZilla is a smart move for managing your files in the long term.
Frequently Asked Questions (FAQs)
1. Can I use FileZilla with all lifetime hosting plans?
Most plans support FTP access, but it’s always a good idea to check before purchasing. Some affordable lifetime hosting deals may come with limited features.
2. What if I forget my FTP password?
You can reset your FTP password from your hosting control panel. Just go to FTP Accounts and edit the password.
3. Why is FileZilla not connecting to my hosting?
This typically occurs due to incorrect login details, port numbers, or firewall settings. Double-check everything and try again.
4. Do I need any technical skills to use FileZilla?
No. FileZilla is designed to be simple. If you can copy and paste information, you can set it up in a few minutes.
5. Is FileZilla safe for managing my website files?
Yes. It’s one of the most trusted FTP tools used by website owners worldwide. Be sure to download it from the official website.